Initial headset configuration
NOTES:
- This article applies only to Pico Neo 3 headsets.
- The screens you see in this article may not match the screens in your headset exactly.
- The headset must be connected to power throughout initial configuration.
When you receive a brand new Pico Neo 3 headset and power it on for the first time, you may be required to perform an initial in-headset configuration that includes setting language and region, accepting a safety statement, controller updates, and more. This is a one-time process; after this initial configuration, headsets will launch directly into Strivr Player when powered on. This article details the configuration steps that you will see during this process.
-
Controller calibration
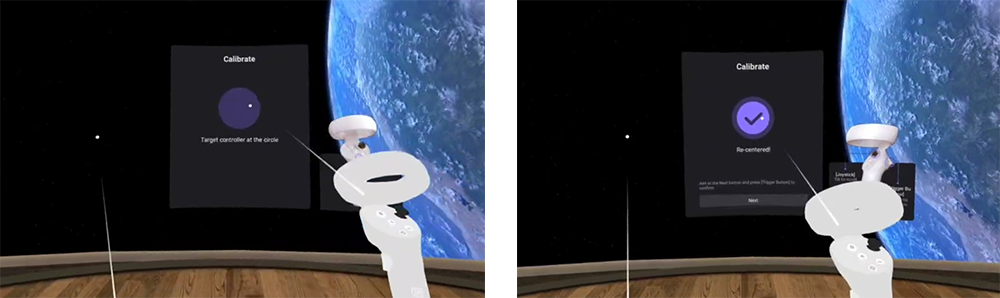
Using the left or right controller, aim the pointer at the circle and hold the home button until a checkmark appears and the popup reads Re-centered! Then select Next.
-
Language selection
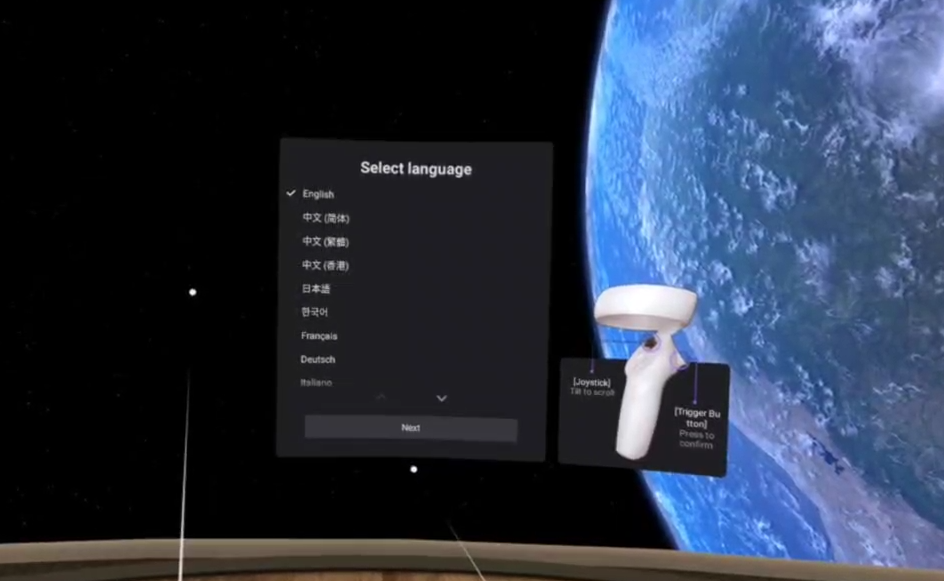
Select language. This setting controls the language display for interactions like boundary setting. English should be selected by default. Select Next to move on to the next step.
-
Region selection
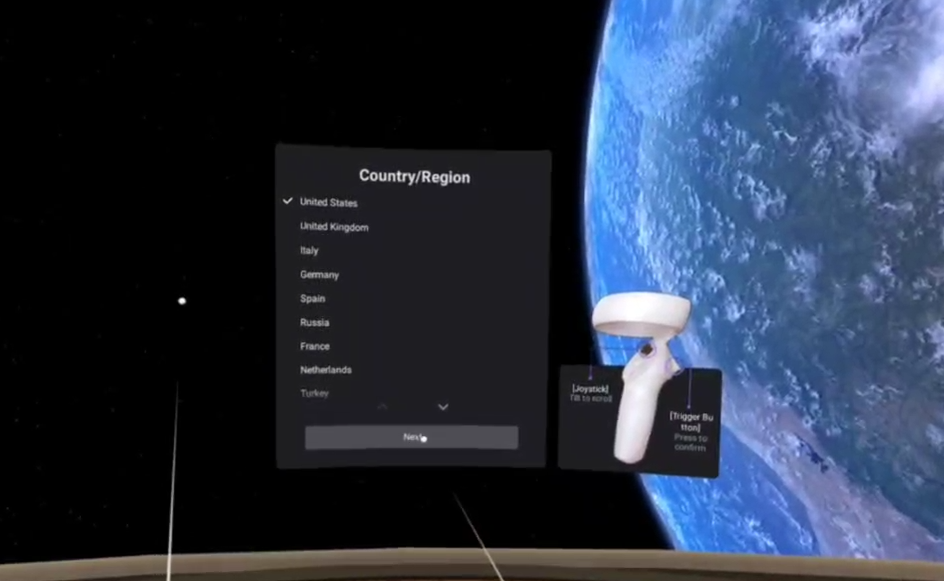
Select country/region. Then select Next.
NOTE: If the time zone is already configured in your company’s MDM, this setting may be overridden.
-
Headset adjustment
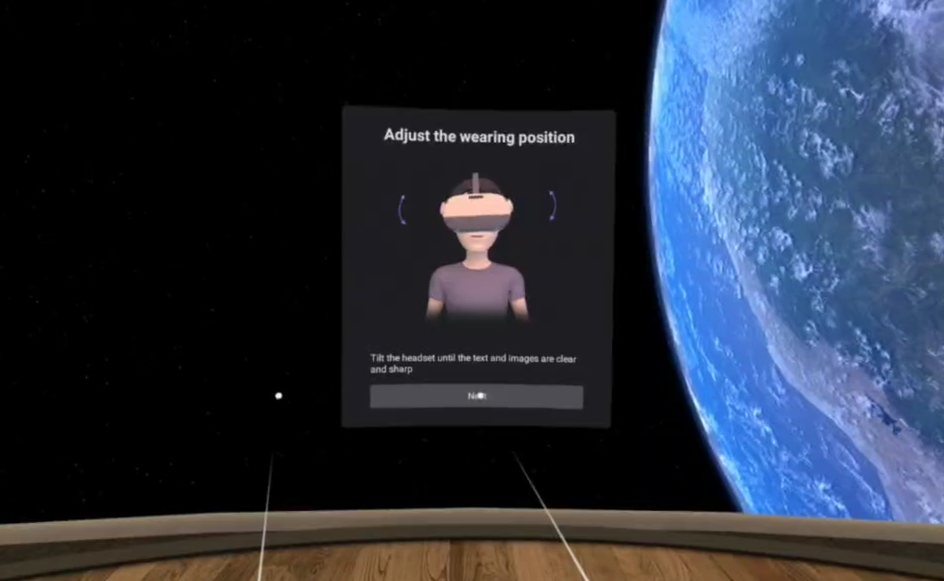
If desired, adjust the headset for comfort and select Next. Note that each time a learner trains with Strivr, they will be prompted to adjust the headset for a good fit.
-
Interpupillary distance adjustment

If desired, move the lenses toward or away from the center to match pupil distance for better focus. Then select Next. Note that each time a learner trains with Strivr, they will be prompted to adjust this setting.
-
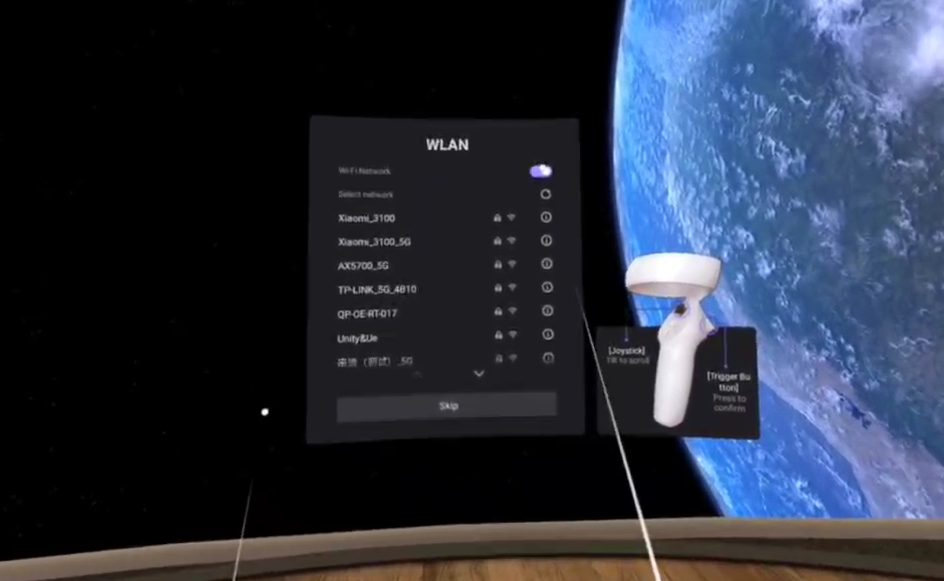
Wifi connection
-
If you use an MDM (like Workspace ONE) to manage your headsets, Wifi Network should already be set to On and the headset should automatically connect to your wifi network (you’ll see a checkmark next to the connected network.) Select Skip to move on to the next step.
If Wifi Network is not already set to On, skip this step for now and work with your MDM administrator to connect to the correct Wifi network.
-
If you do not use an MDM, make sure Wifi Network is set to On. Then select a network. Select Next to move on to the next step.
-
-
Privacy policy
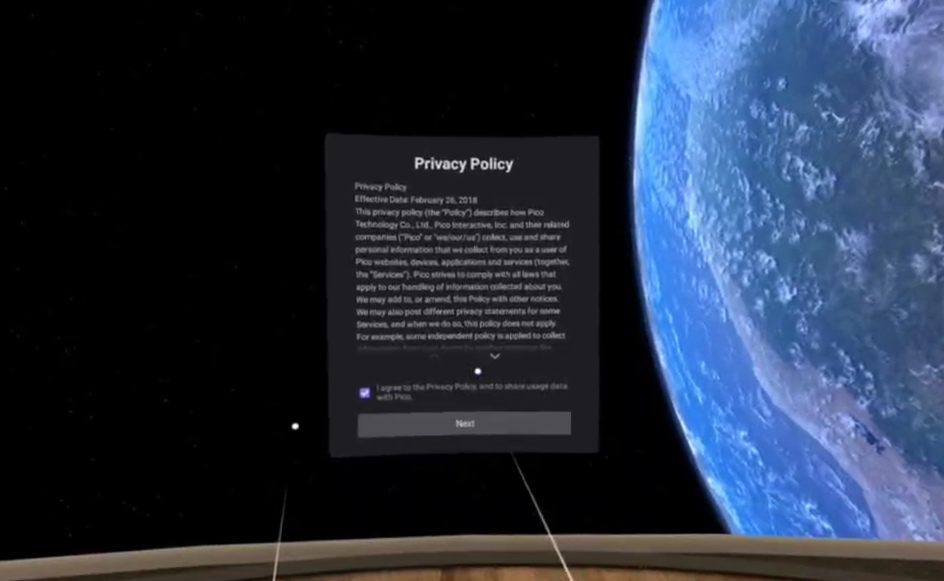
Read the Pico privacy policy. Then use the checkbox to acknowledge your understanding of the policy and select Next.
-
Safety policy
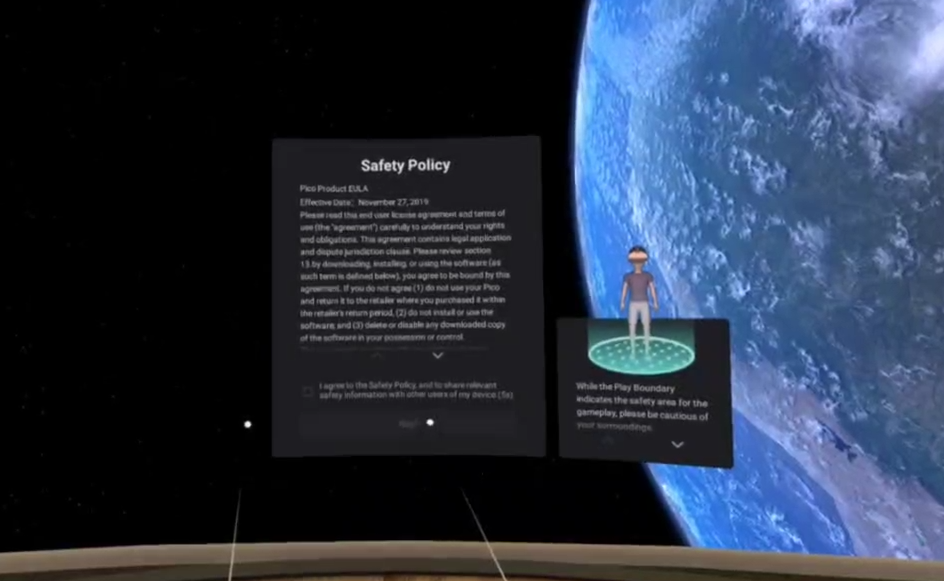
Read the Pico safety policy (you must scroll the entire policy to activate the checkbox). Then use the checkbox to acknowledge your understanding of the policy and select Next.
-
Quick setup (Enterprise)
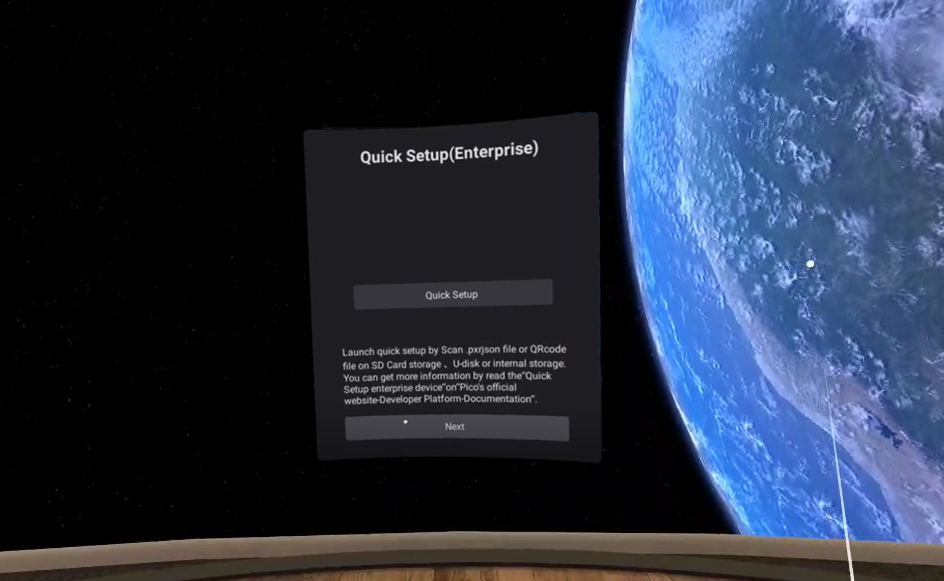
Skip Quick Setup and select Next. Do not select Quick Setup.
-
System initialization
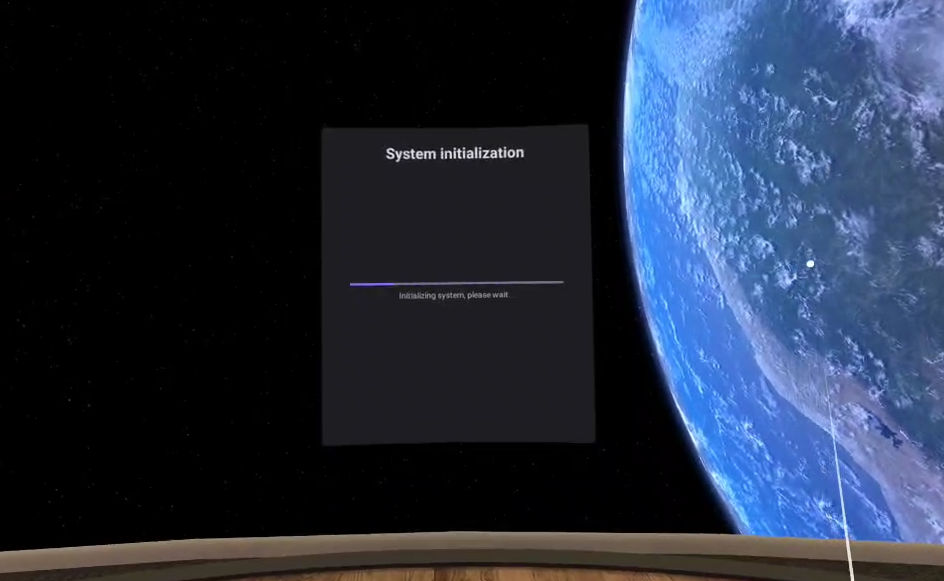
The Pico system performs initialization. No action is required. This step can take several seconds.
-
Set initial boundary
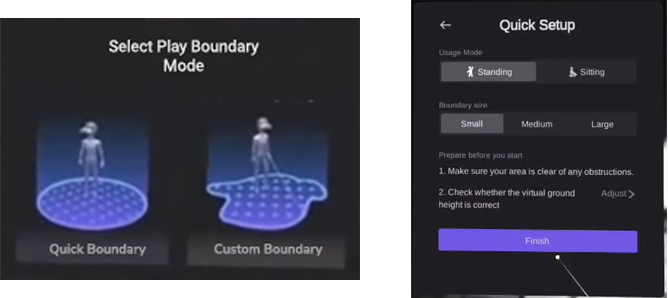
The passthrough cameras activate and you are prompted to set the initial safe use boundary. During this initial configuration, Strivr recommends you select Quick Boundary, leave the default options selected, and select Finish. Each time a learner puts on the headset they will be prompted to reset the floor level and safe use boundary.
-
Controller Update
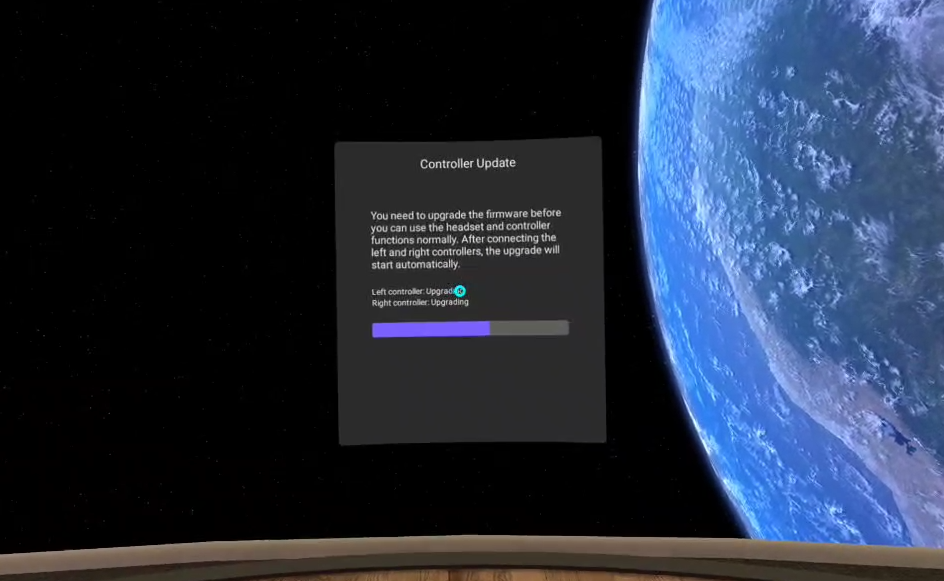
If there is an update for your controllers, it will begin automatically. This update can take several minutes. If no update is available, this step is skipped.
-
Boundary verification
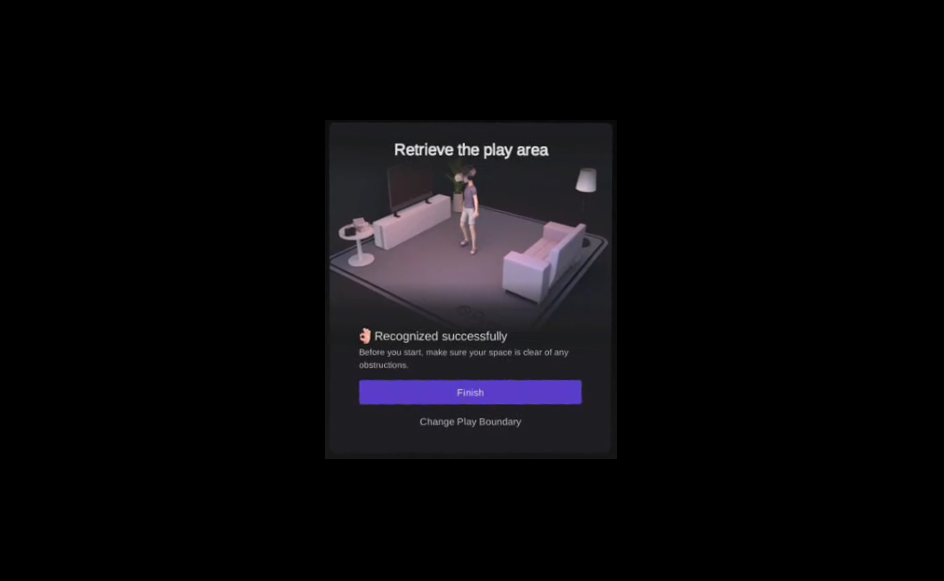
The headset verifies that the boundary has been set. If so, the dialog will say Recognized Successfully. Select Finish.
-
Direct Sunlight Warning
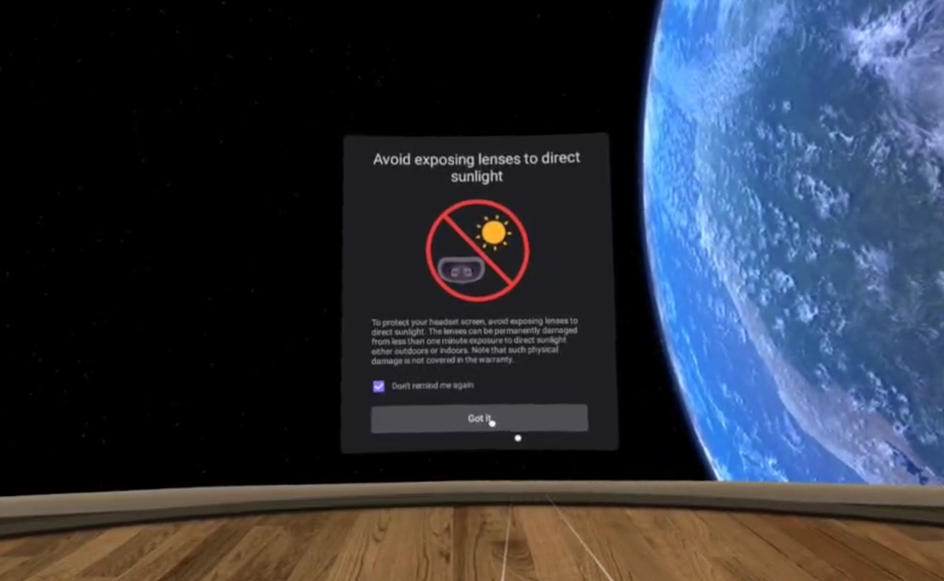
Read the warning and select Got It.
-
Strivr Player launches.
IMPORTANT:If you press the home button on either controller when your pointer is outside the circle, the headset may exit initial configuration. If this occurs, restart the headset to return to initial configuration.
After this initial configuration, any time the headset is powered on, Strivr Player will launch automatically.